Setting up your POS with buttons
To arrange your POS buttons, head to the Backoffice and click Buttons.
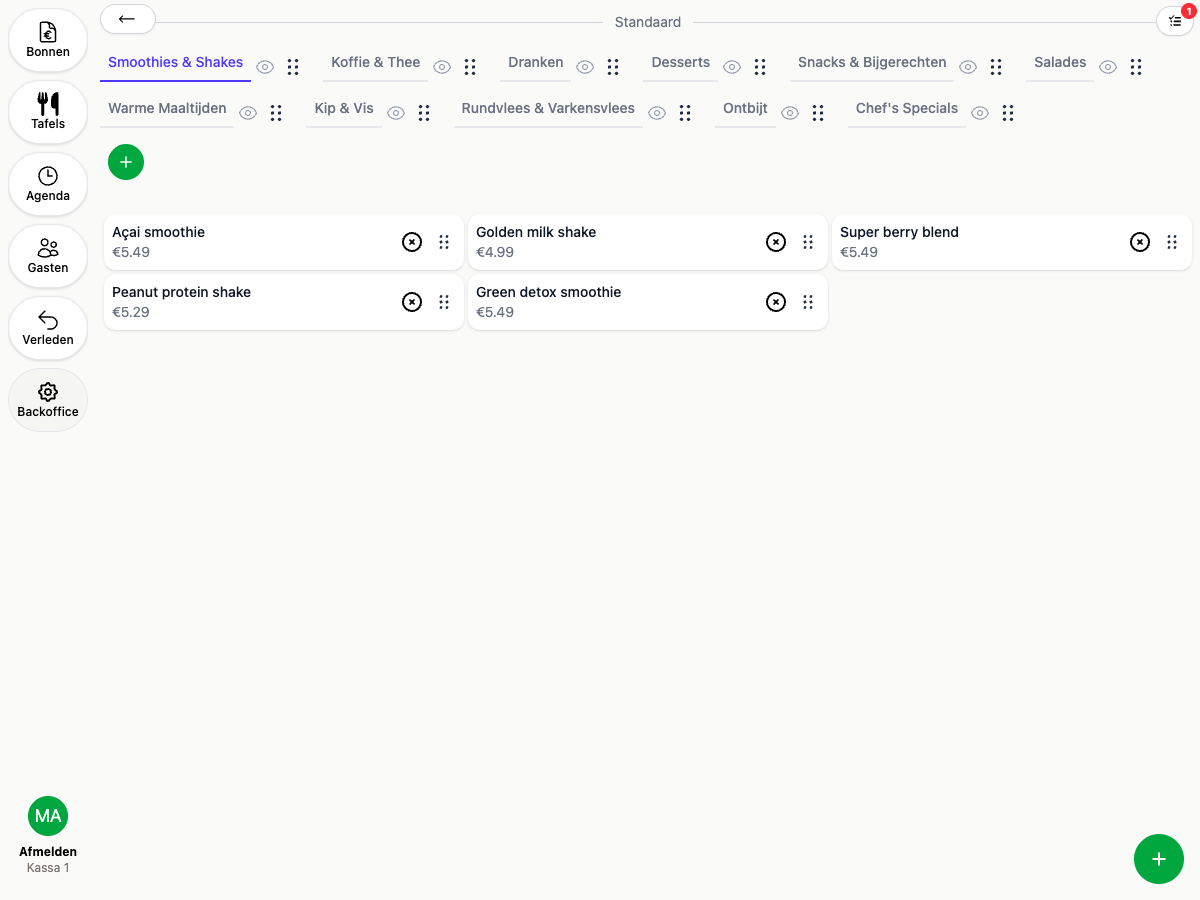
You can configure buttons separately for each device type, so your self-service kiosk and your POS screen can have completely different layouts.
Working with categories
Categories sit along the top of the screen. From there you can:
- Add a new one with the plus button
- Edit or delete a category by tapping it
Hiding a category
Want to temporarily hide a category from the POS or kiosk without deleting it? Click the eye icon next to a category to hide it. Hidden categories stay fully visible and editable in the Backoffice, but disappear instantly from the POS and kiosk.
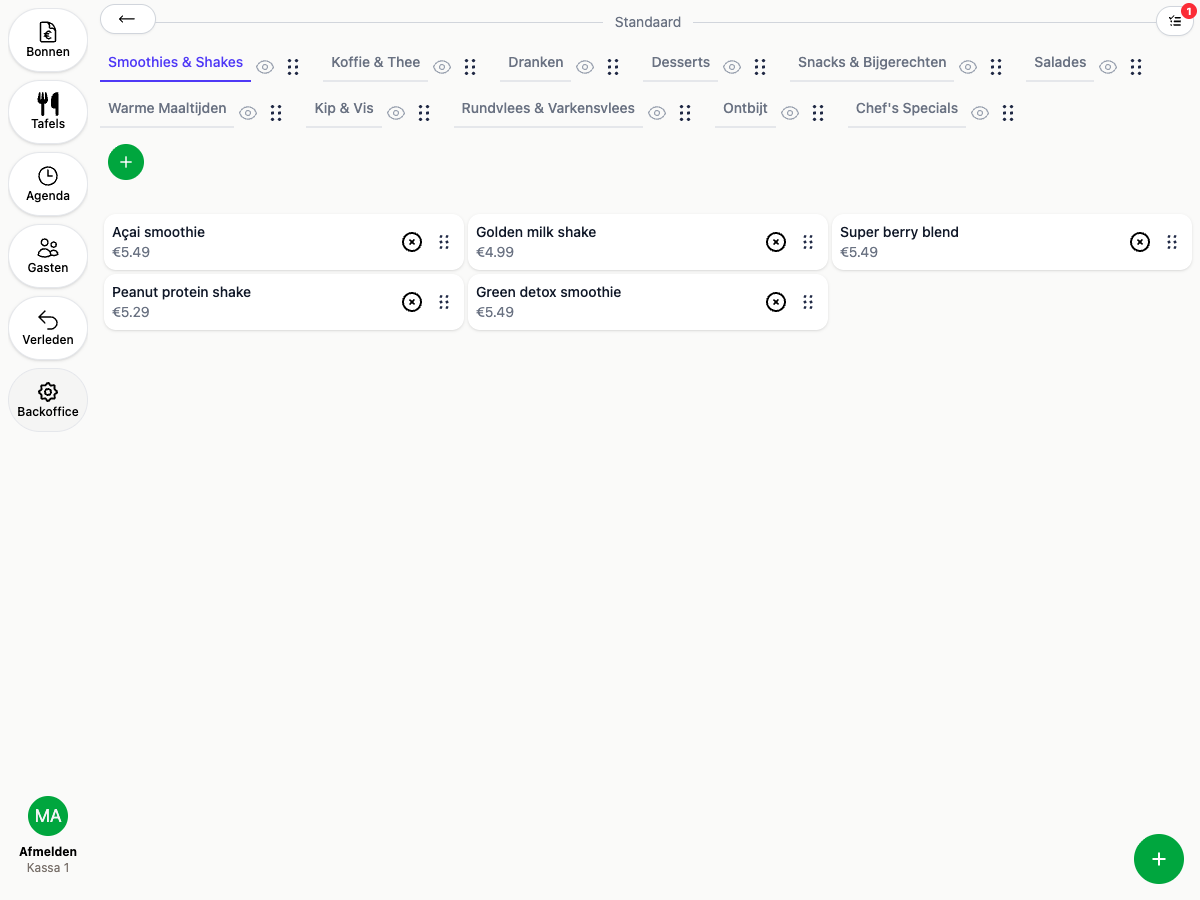
Click the eye icon again to make the category visible once more. Want to hide an area or table the same way? See Managing areas and tables.
Adding products
Tap the round + in the bottom right to add a product. Search for it and it lands straight on the screen.
Moving and removing products
- Remove: tap the X next to a product
- Move: grab the dots and drag the product wherever you want it
Images on buttons
Want product photos on your buttons? See Showing images on buttons.